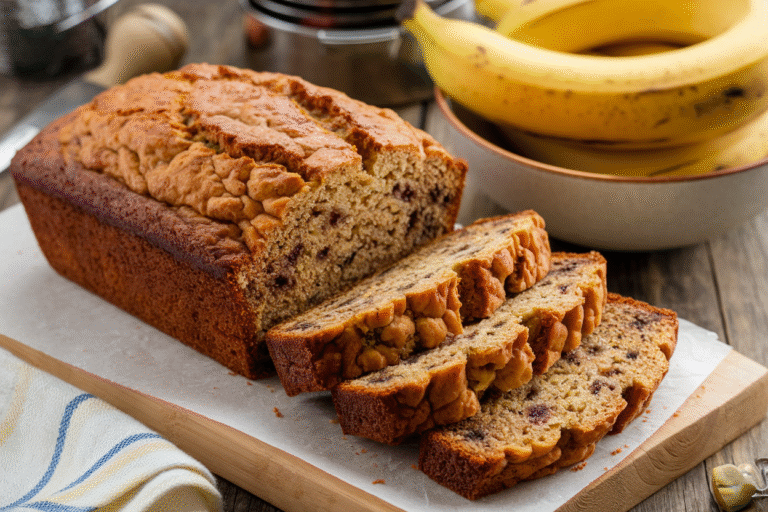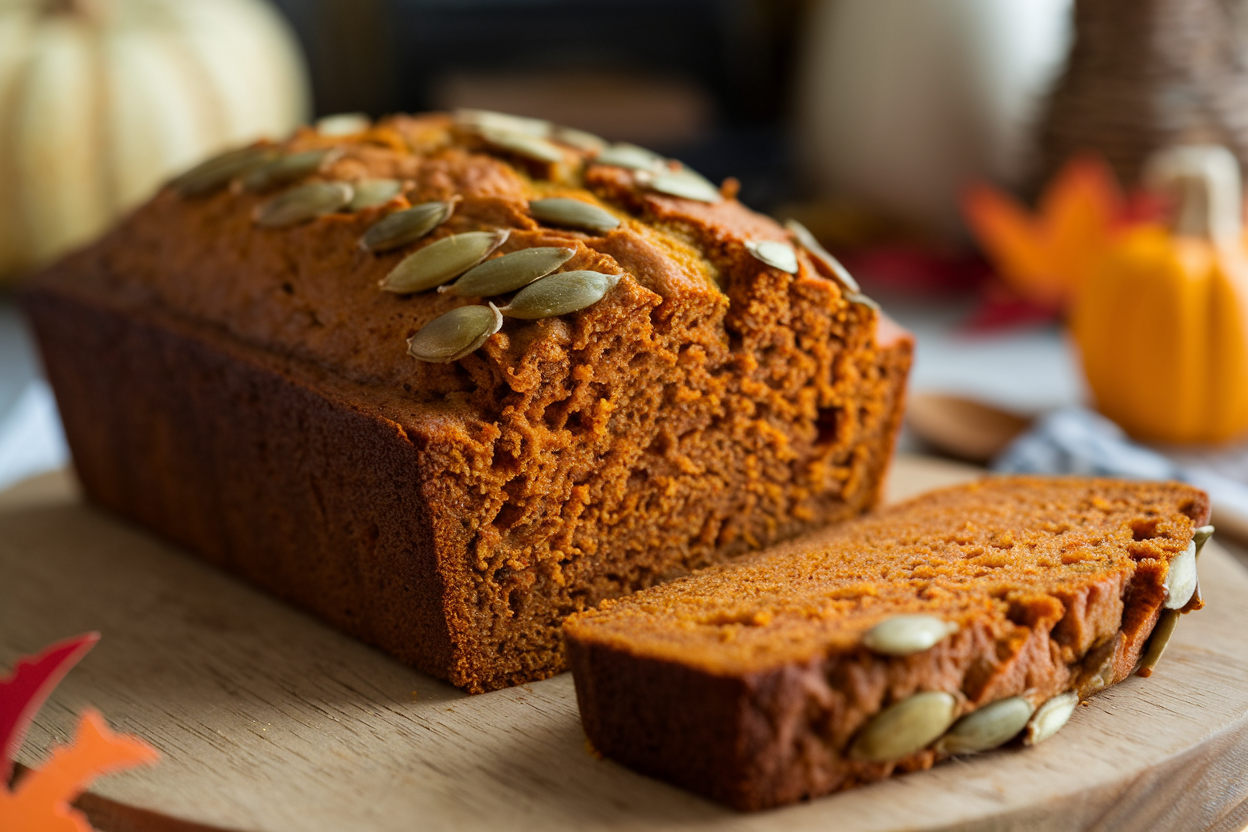
DIY Pumpkin Bread Recipe with Canned Pumpkin – Super Moist & Easy (No Mixer, No Drama, All Flavor)
You don’t need a bakery or a trust fund to make insanely good pumpkin bread. You need a can, a bowl, and 10 minutes of effort. This loaf is unapologetically moist, spiced like a hug, and foolproof enough to crush on a busy weeknight.
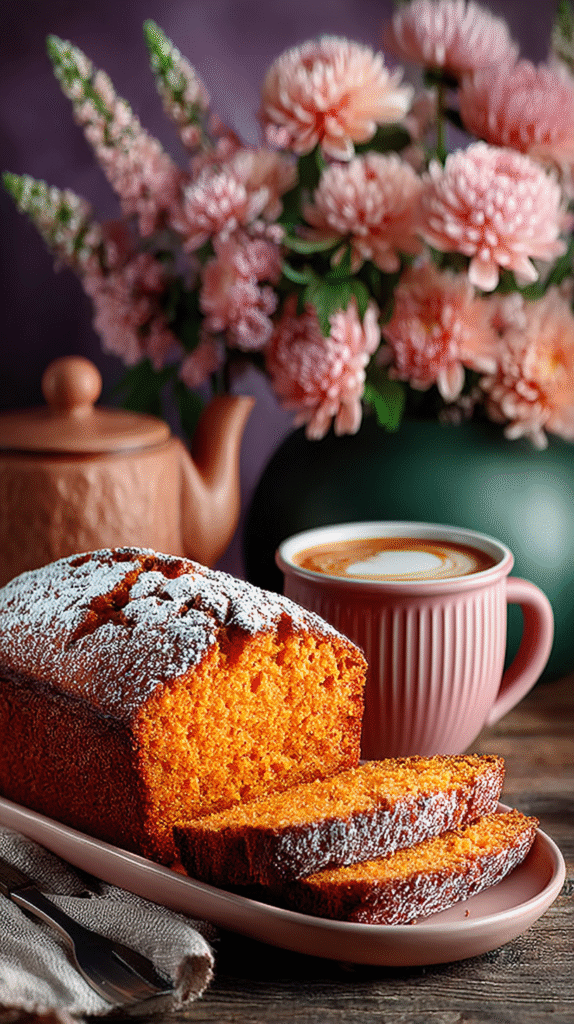
Your kitchen will smell like fall market vibes, your slice will taste like a cozy blanket, and your friends will ask for the “secret.” Spoiler: it’s canned pumpkin, brown sugar, and a few pro moves most people skip.
What Makes This Special
- Maximum moisture, minimum effort: Oil, brown sugar, and canned pumpkin join forces for a plush crumb that stays tender for days.
- Balanced spice: Warm accents (cinnamon, ginger, nutmeg) without tasting like a candle department exploded.
- One bowl simplicity: No stand mixer. No fussy steps. Stir, pour, bake.
Done.
- Perfect rise, no sink: A smart combo of baking soda and baking powder gives lift without creating “bread cliffs.”
- Make-ahead friendly: This loaf tastes even better on day two. Yes, really.
What Goes Into This Recipe – Ingredients
- 1 3/4 cups (220 g) all-purpose flour
- 1 teaspoon baking soda
- 1/2 teaspoon baking powder
- 1/2 teaspoon fine sea salt
- 2 teaspoons ground cinnamon
- 1/2 teaspoon ground ginger
- 1/4 teaspoon ground nutmeg (freshly grated if you can)
- 1/8 teaspoon ground cloves (optional for extra warmth)
- 1 cup (200 g) granulated sugar
- 1/2 cup (110 g) packed brown sugar (light or dark)
- 2 large eggs, room temperature
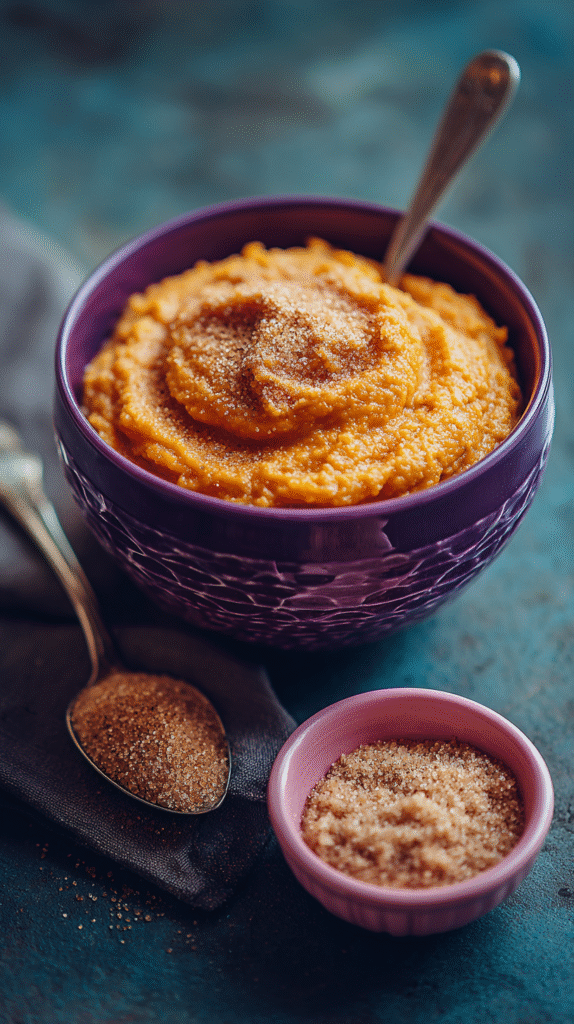
- 1 cup (240 g) canned pumpkin puree (not pumpkin pie filling)
- 1/2 cup (120 ml) neutral oil (canola, vegetable, or light olive oil)
- 1/4 cup (60 ml) milk (dairy or unsweetened almond)
- 2 teaspoons vanilla extract
- Optional add-ins: 1/2–3/4 cup chocolate chips, chopped pecans/walnuts, or dried cranberries
- Optional topping: 1–2 tablespoons turbinado sugar for crunch

- Complete 8-Piece Baking Pans Set for Versatile Baking – The Prime Cuisine 8-Piece Bakeware Set is a complete baking set …
- Nonstick Ceramic Coating for Effortless Cleanup – Featuring a ceramic nonstick coating, this baking sheet set ensures ea…
- Oven Safe Up to 450°F for All Your Baking Creations – This durable baking pans set is designed to withstand high heat, w…
As an Amazon Associate, I earn from qualifying purchases.
Instructions
- Prep the pan and oven: Preheat to 350°F (175°C). Line a 9×5-inch loaf pan with parchment, leaving a sling.
Lightly grease the sides. This prevents sticking and the dreaded crumb tear-out.
- Whisk dry ingredients: In a large bowl, whisk flour, baking soda, baking powder, salt, cinnamon, ginger, nutmeg, and cloves until evenly combined.
- Add sugars and wet ingredients: Whisk in granulated sugar and brown sugar. Add eggs, pumpkin puree, oil, milk, and vanilla.
Stir until just smooth. No need to overwork it—lumps are not a personality flaw.
- Fold in extras (optional): Gently fold in chocolate chips or nuts. Keep the batter thick and cohesive—don’t stir it into a frenzy.
- Pan and top: Scrape batter into the prepared pan.
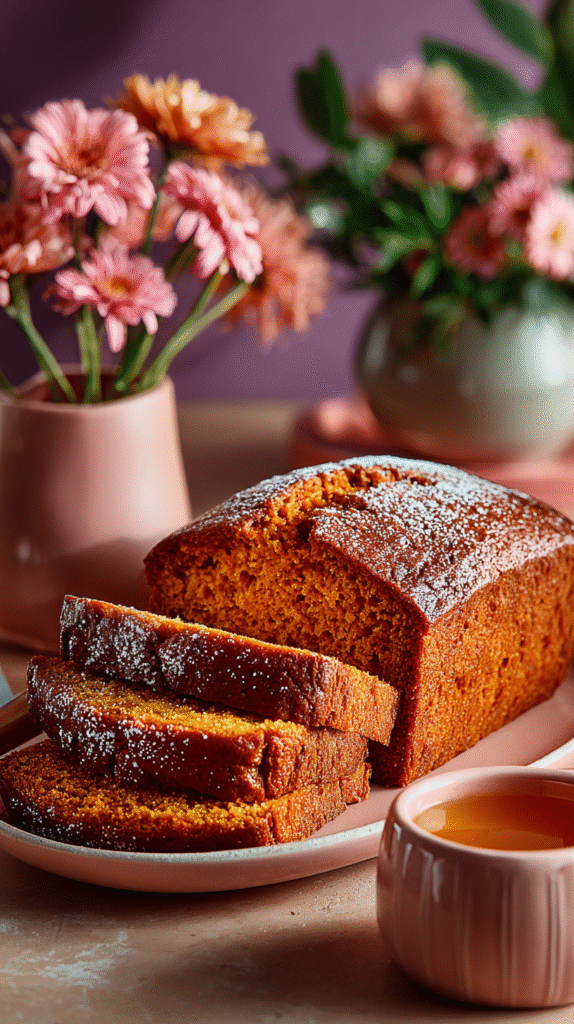
Smooth the top. Sprinkle turbinado sugar if you want a crackly crust (you do).
- Bake: Bake for 55–70 minutes, until a toothpick comes out with a few moist crumbs but no wet batter. If the top is browning too fast, tent loosely with foil at the 45-minute mark.
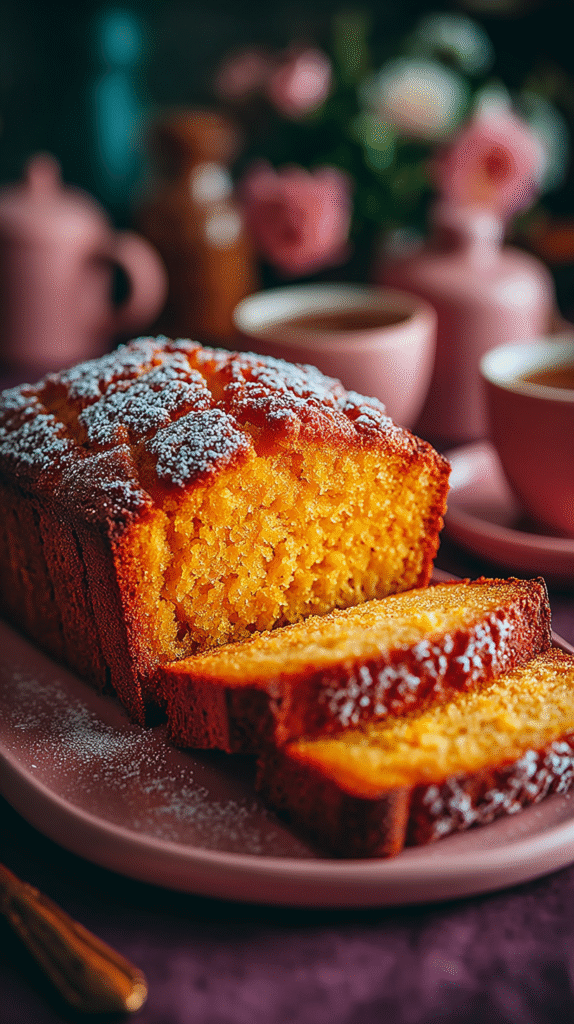
- Cool strategically: Cool in the pan for 15 minutes, then lift out using the parchment sling to a wire rack.
Let it cool at least 1 hour before slicing for clean cuts and maximum tenderness. Yes, patience tastes better.

- DOUBLE OVEN – DOUBLE DISHES FOR DOUBLE DELICIOUS: Effortlessly cook two meals at once. With the Double Oven you have the…
- GOOD TO KNOW – Cook two delicious meals at once with this AEG electric double oven. With a 66-litre capacity, you’ll hav…
- COOKED EVENLY EVERYWHERE: With this oven, using energy efficiently also means cooking efficiently. It has a new convecti…
As an Amazon Associate, I earn from qualifying purchases.
Storage Tips
- Room temp: Wrap tightly or store in an airtight container for up to 3–4 days. Flavor deepens by day two.
Win.
- Fridge: Up to 1 week, well-wrapped. Warm slices briefly in the microwave to revive that bakery-level softness.
- Freezer: Slice, wrap individually, and freeze up to 3 months. Thaw at room temp or toast from frozen.
Future-you will send a thank-you note.
Benefits of This Recipe
- Foolproof for beginners: One bowl, simple steps, very forgiving batter.
- Moist without butter: Oil keeps the crumb tender even when chilled.
- Pantry-friendly: Canned pumpkin and common spices mean you can make it whenever the craving hits—i.e., now.
- Customizable: Make it nutty, chocolatey, maple-glazed, or minimalist. Your kitchen, your rules.
- Great for gifting: It slices clean, wraps well, and makes you look like you have your life together. IMO, that’s priceless.
Avoid These Mistakes
- Using pumpkin pie filling: It’s pre-sweetened and spiced.
You’ll end up with cloying, unpredictable results. Always use plain pumpkin puree.
- Overmixing: Stir until combined. Overmixing develops gluten and can make the loaf tough or cause tunneling.
- Wrong pan size: A smaller pan overflows; a larger pan creates a squat loaf.
Stick to 9×5 inches or adjust bake time accordingly.
- Underbaking: The center should hit about 200–205°F (93–96°C) on an instant-read thermometer. Toothpicks lie sometimes; thermometers don’t.
- Slicing too soon: Hot bread crumbles and compresses. Let it set so the crumb stabilizes and the flavor blooms.
Mix It Up
- Chocolate swirl: Reserve 3/4 cup batter, mix with 2 tablespoons cocoa powder and 1 tablespoon milk, swirl on top.
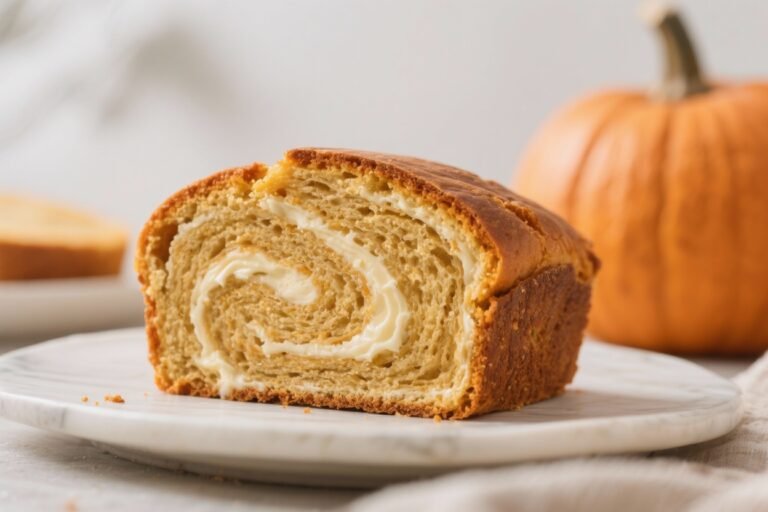
- Cream cheese ribbon: Beat 6 oz cream cheese with 1/4 cup sugar and 1 egg; layer in the center for a cheesecake vibe.
- Maple glaze: Whisk 1/2 cup powdered sugar with 1–2 tablespoons maple syrup and a pinch of salt; drizzle over cooled loaf.
- Oat streusel: Mix 1/3 cup flour, 1/3 cup oats, 3 tablespoons brown sugar, 1/2 teaspoon cinnamon, and 3 tablespoons cold butter; crumble on top before baking.
- Healthy-ish tweaks: Swap half the flour for white whole wheat, use coconut sugar, and add 2 tablespoons ground flax.
Still moist, still legit.
FAQ
Can I use fresh pumpkin instead of canned?
Yes, but make sure it’s thick like canned puree. Roast sugar pie pumpkin, puree, then strain excess liquid. Too watery?
Your loaf will slump and taste bland.
How do I keep the bread from sinking in the middle?
Measure leaveners accurately, don’t overmix, and bake fully. Also, avoid opening the oven door in the first 35 minutes. That cold air shock is not helping.
Is there a dairy-free option?
Totally.
Use a neutral oil (already dairy-free) and swap milk for almond, oat, or soy milk. The texture stays plush, no sacrifices required.
Can I make muffins with this batter?
Yes. Scoop into a lined muffin tin, about 3/4 full.
Bake at 350°F (175°C) for 18–22 minutes, or until a tester comes out with moist crumbs.
How do I know it’s done without a thermometer?
Look for a domed top with a deep crack, edges pulling slightly from the pan, and a skewer that comes out with a few moist crumbs—not wet batter. If unsure, give it 5 more minutes.
Can I reduce the sugar?
You can cut total sugar by up to 1/4 cup without wrecking the texture. Any lower and you risk dryness and less browning.
Flavor balance matters, FYI.
What oil works best?
Use a neutral oil like canola, vegetable, or grapeseed. Light olive oil works too. Strong oils (like extra-virgin olive oil) can overshadow the spices.
Why use both baking soda and baking powder?
The acid in brown sugar and pumpkin activates baking soda for lift, while baking powder ensures a reliable rise throughout.
It’s the dream team.
Final Thoughts
This DIY Pumpkin Bread Recipe with Canned Pumpkin is the fall flex that doesn’t demand chef-level energy. It’s moist, sliceable, wildly aromatic, and customizable for any crowd. Keep a can of pumpkin in the pantry, and you’re always one hour from cozy greatness.
Make it today, brag about it tomorrow, and maybe—just maybe—save a slice for breakfast. Or don’t. Your call.
Printable Recipe Card
Want just the essential recipe details without scrolling through the article? Get our printable recipe card with just the ingredients and instructions.

Hi, I’m Hannah — the food lover behind Every Day Quick Meals! I’m all about making cooking simple, joyful, and stress-free. Between work, life, and a million to-dos, I know how hard it can be to find time for homemade food. That’s why I create quick, tasty recipes that anyone can make — no fancy skills required. My kitchen motto? Good food doesn’t need to be complicated — just made with love.