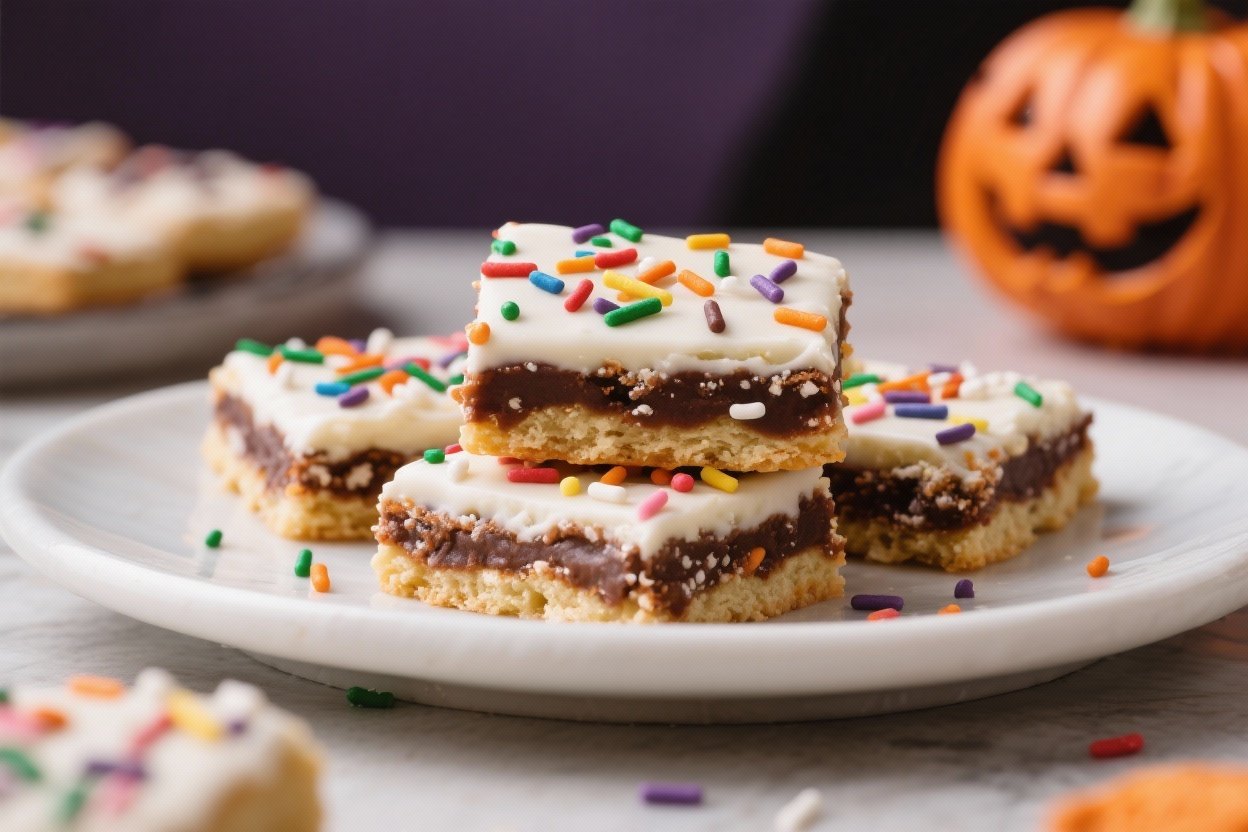
These Halloween Sugar Cookie Bars with Sprinkles Are the Party Hero You Didn’t Know You Needed
Forget rolling pins and cookie cutters. You want speed, fun, and a tray that disappears faster than Trick-or-Treat candy at 9 p.m. These Halloween Sugar Cookie Bars with Sprinkles deliver thick, soft, bakery-level squares in under an hour—no fussy steps, no drama.
They’re chewy in the middle, slightly crisp at the edges, and topped with a creamy frosting that actually tastes like frosting (not glorified sugar glue). You bring the sprinkles; I’ll bring the crowd-pleasing “who made these?” energy. Ready to be the dessert MVP with minimal effort?
Why This Recipe Works
These bars keep everything you love about sugar cookies—vanilla-forward flavor, tender crumb, colorful finish—without the tedious shaping and batch-baking.
The dough is spread once, baked once, done. That means consistent texture and no burned edges while the last tray limps along.
The ingredient ratios are dialed in for soft, thick bars that hold their shape. A touch of cornstarch and the right butter-to-sugar balance create a melt-in-your-mouth interior without turning cakey.
Meanwhile, the frosting? It’s whipped to be fluffy but stable, so it slices clean and doesn’t slide off like a Halloween mask in the rain.
And the sprinkles. They’re not just cute.
They add crunch, color, and instant Halloween vibes—because sometimes we all need edible confetti.
What Goes Into This Recipe – Ingredients
- All-purpose flour – 2 3/4 cups, spooned and leveled
- Cornstarch – 1 tablespoon, for extra tenderness
- Baking powder – 1 teaspoon
- Fine sea salt – 1/2 teaspoon
- Unsalted butter – 1 cup (2 sticks), room temperature
- Granulated sugar – 1 cup
- Light brown sugar – 1/4 cup, packed, for chew
- Large eggs – 2, room temperature
- Pure vanilla extract – 2 teaspoons
- Almond extract – 1/4 teaspoon (optional but delightful)
- Halloween sprinkles – 1/2 cup, divided (jimmies + confetti work best)
For the frosting:
- Unsalted butter – 3/4 cup (1 1/2 sticks), room temperature
- Powdered sugar – 2 1/2 to 3 cups, sifted
- Heavy cream or milk – 2–3 tablespoons
- Vanilla extract – 1 teaspoon
- Pinch of salt – to balance sweetness
- Gel food coloring – orange, purple, or black (optional but festive)
- Extra Halloween sprinkles – for topping
Instructions
- Preheat oven to 350°F (175°C). Line a 9×13-inch pan with parchment, leaving overhang for easy lifting. Lightly spray for insurance.
- In a bowl, whisk flour, cornstarch, baking powder, and salt until combined.
Set aside like a patient sidekick.
- In a large bowl, beat butter, granulated sugar, and brown sugar on medium-high until light and fluffy, 2–3 minutes. Don’t rush this—air equals soft bars.
- Add eggs one at a time, mixing well after each. Beat in vanilla and almond extract.
- Add dry ingredients in two additions, mixing on low until just combined.
Don’t overmix unless you like tough bars (you don’t).
- Fold in 1/4 cup sprinkles with a spatula. Stick to jimmies/confetti—nonpareils bleed like a cheap costume.
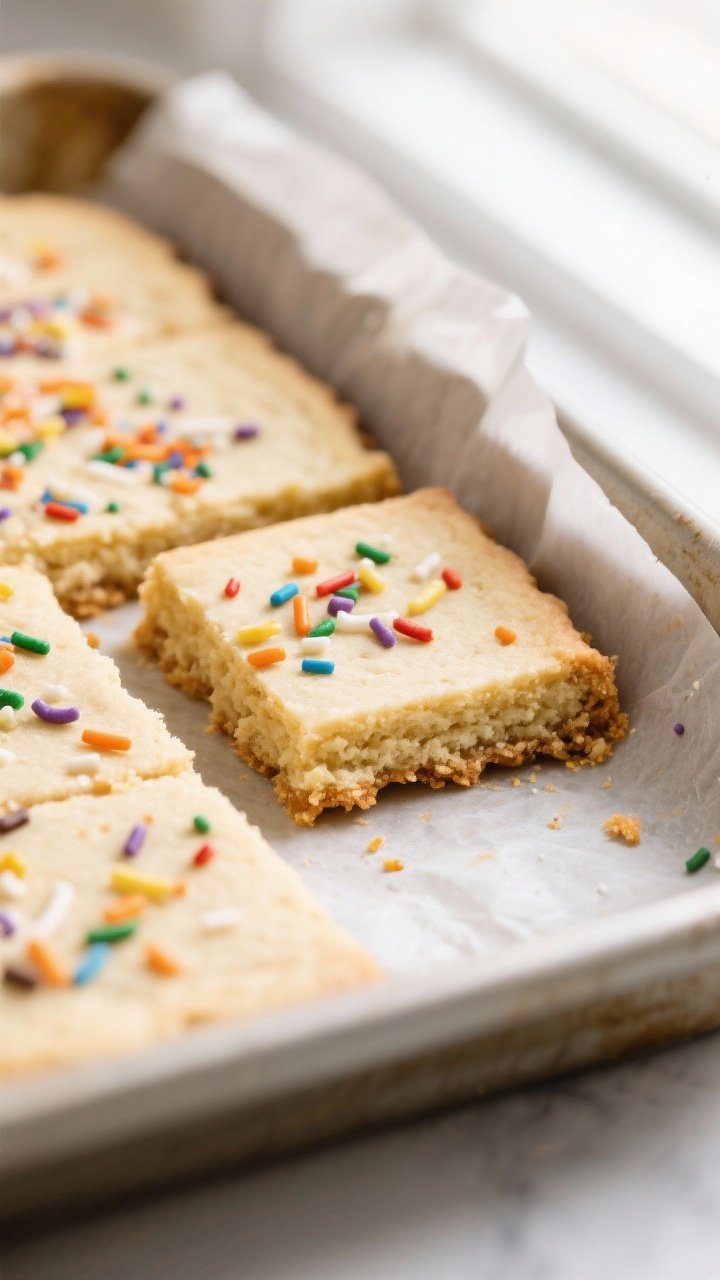
- Press dough into the prepared pan in an even layer. A greased spatula or damp fingertips help.
Sprinkle remaining 1/4 cup sprinkles on top and press lightly to adhere.
- Bake for 18–22 minutes, until edges are lightly golden and a toothpick comes out with a few moist crumbs. Don’t overbake; they firm as they cool.
- Cool completely in the pan on a rack. Yes, completely.
Warm bars + frosting = slide city.
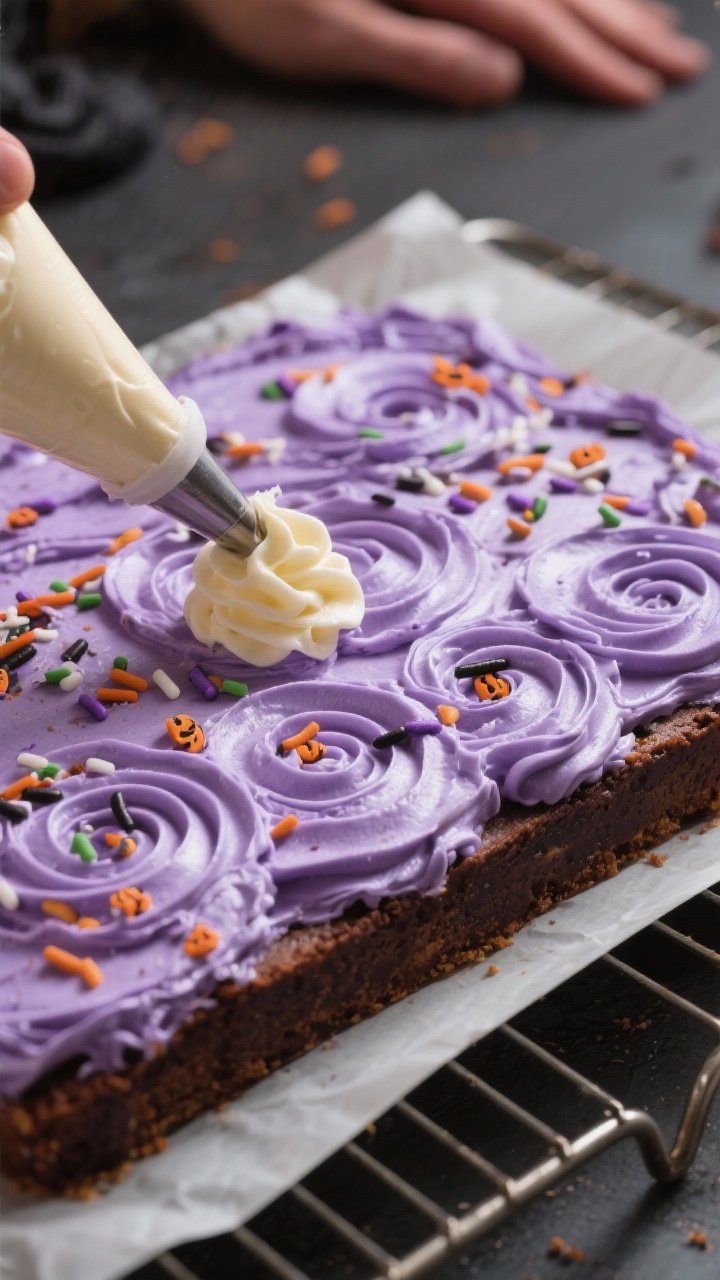
- Make the frosting: Beat butter until creamy, 1 minute. Add powdered sugar gradually, then vanilla, salt, and 2 tablespoons cream. Beat 2–3 minutes until fluffy.
Adjust with more sugar or cream for spreadable consistency. Tint with gel color if using.
- Frost cooled bars generously. Add extra sprinkles like you mean it.
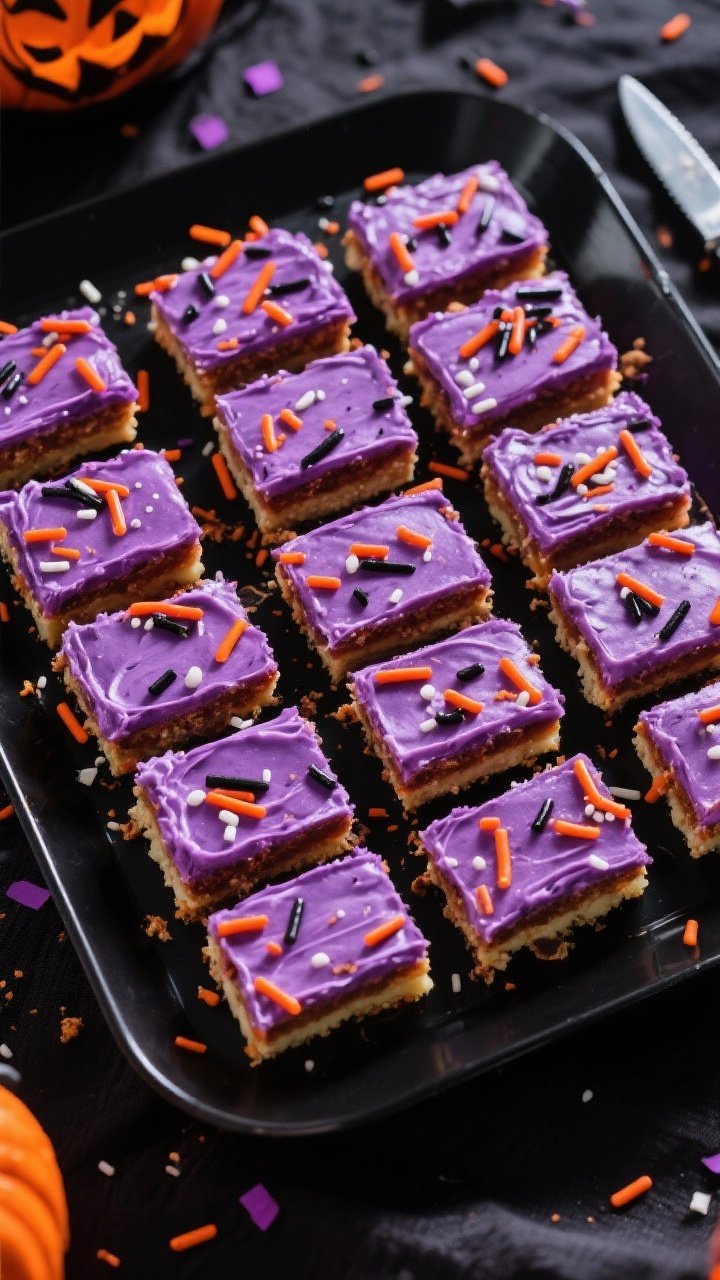
- Lift out by the parchment and cut into squares (12 large or up to 24 smaller).
Serve and accept compliments with grace—or not.
How to Store
- Room temperature: Keep in an airtight container for 2–3 days. Layers of parchment help prevent smudge-y frosting.
- Refrigerator: Up to 5 days, though chill can firm the texture. Let sit 20 minutes before serving for best softness.
- Freezer: Freeze cut bars on a sheet tray until solid, then store in a bag/container up to 2 months.
Thaw at room temp, uncovered, for 30–45 minutes. FYI: Sprinkles survive the freeze just fine.
Benefits of This Recipe
- Time-efficient: One pan, one bake, zero cookie-sheet Tetris.
- Ultra-shareable: Perfect for parties, bake sales, or that “I forgot it’s my turn” moment.
- Kid-friendly: Mixing, spreading, and sprinkle-ing are basically crafts.
- Consistent texture: No overbaked edges and underdone centers across multiple batches.
- Customizable: Swap sprinkle colors post-Halloween for any holiday. The base is a year-round workhorse.
What Not to Do
- Don’t overbake. Pull them when the center looks set but pale.
The residual heat finishes the job.
- Don’t use melted butter. You’ll get greasy, dense bars. Room-temp butter only.
- Don’t skip the cornstarch. It’s the secret to that tender bite.
- Don’t frost warm bars. Unless you enjoy frosting slip-and-slide chaos.
- Don’t go wild with nonpareils in the batter. They bleed and turn your dough murky. Stick to jimmies.
Alternatives
- Flavor twist: Add 1/2 teaspoon orange zest and swap almond extract for 1/4 teaspoon orange extract.
It screams Halloween-candy vibes.
- Confetti overload: Mix mini chocolate chips (1/2 cup) with sprinkles for extra texture.
- Frosting swap: Use a chocolate buttercream (cocoa + splash of espresso) for a black-cat moment.
- Gluten-free: Use a 1:1 GF all-purpose blend with xanthan gum. Add an extra tablespoon of milk if the dough feels stiff.
- Dairy-free: Substitute plant-based butter and a neutral non-dairy milk. Beat frosting a little longer for fluff.
- Sheet-cake style: Bake in a 10×15 jelly roll pan for thinner bars; reduce bake time to 14–17 minutes.
FAQ
Can I make these ahead?
Yes.
Bake the bars a day ahead, cool, and store tightly wrapped. Frost the day of serving for the freshest look. You can also frost, cut, and refrigerate overnight—just bring to room temp before serving.
Do I need a mixer?
A hand or stand mixer gives the best texture, especially for creaming butter and sugar.
In a pinch, you can mix by hand with a sturdy spatula and elbow grease, but expect slightly denser bars.
Why add brown sugar to sugar cookies?
A little brown sugar adds moisture and chew without making the bars taste like caramel. It’s the small change that makes people ask for the recipe, IMO.
How do I get clean cuts?
Chill the frosted slab for 15–20 minutes, use a long sharp knife, and wipe between each cut. Overkill?
Maybe. Worth it for perfect edges? Absolutely.
Can I use store-bought frosting?
Sure.
Whip it with 1–2 tablespoons of heavy cream to lighten the texture and make spreading easier. Homemade still wins on flavor, but no judgment—busy people deserve sugar bars too.
My Take
These Halloween Sugar Cookie Bars with Sprinkles solve the “I need cute, fast, and actually delicious” problem better than any cutout cookie ever will. The texture lands in that magic zone between soft and sturdy, so they stack, travel, and vanish on cue.
The frosting is simple, the colors pop, and the whole project feels festive without eating your afternoon.
If you make one spooky-season dessert that guarantees compliments and zero stress, this is it. Cut them big for a party tray or bite-size for trick-or-treat fuel. Either way: easy win, zero regrets, and yes—more sprinkles, please.
Printable Recipe Card
Want just the essential recipe details without scrolling through the article? Get our printable recipe card with just the ingredients and instructions.

Hi, I’m Hannah — the food lover behind Every Day Quick Meals! I’m all about making cooking simple, joyful, and stress-free. Between work, life, and a million to-dos, I know how hard it can be to find time for homemade food. That’s why I create quick, tasty recipes that anyone can make — no fancy skills required. My kitchen motto? Good food doesn’t need to be complicated — just made with love.