Pumpkin Cheesecake Bars with Graham Crust That Taste Like Fall Went to Culinary School
Pumpkin pie is cute. Cheesecake is legendary. Put them together, press it over a buttery graham crust, and you’ve got a dessert that has people texting “recipe???” before the pan even cools.
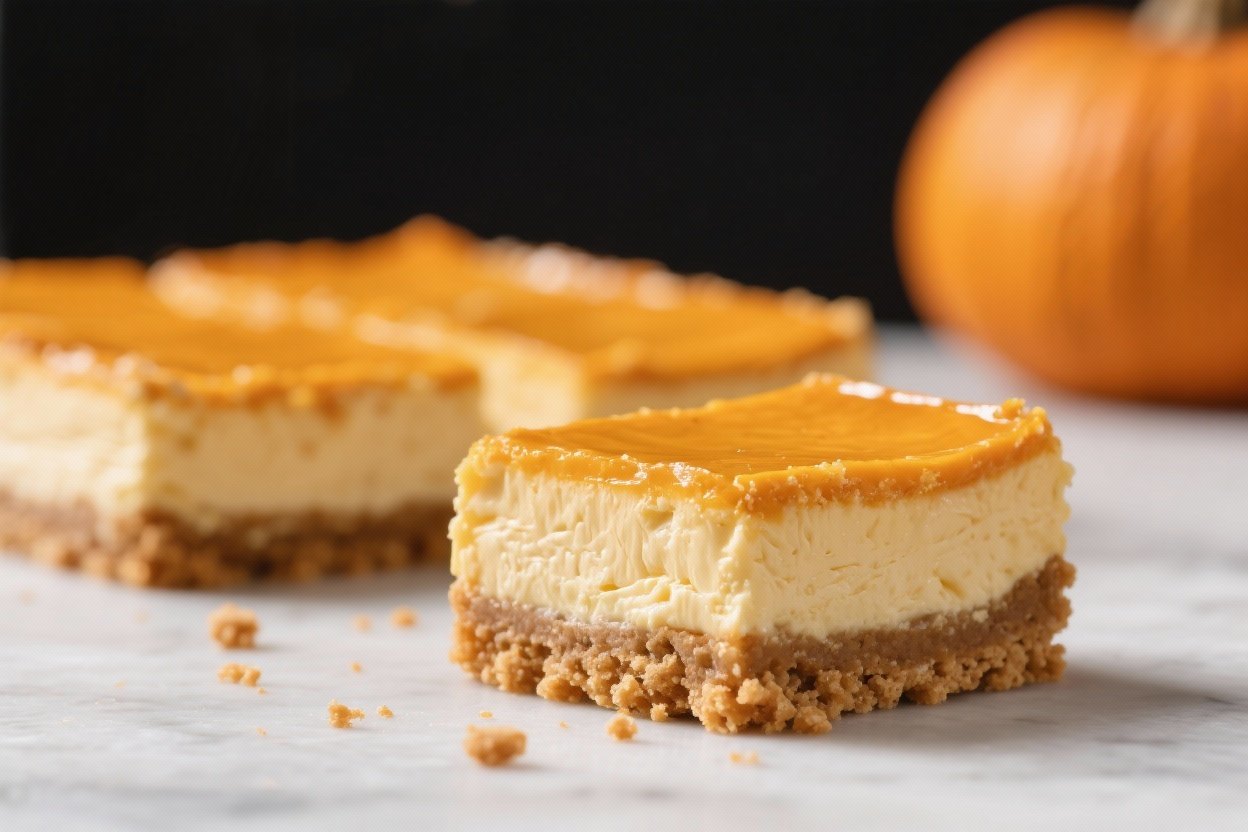
These Pumpkin Cheesecake Bars are creamy, spiced, sliceable perfection—no water bath drama, no fancy equipment, just wildly good results. You can bake them tonight, chill them tomorrow, and look like a genius all weekend. And yes, the crust is thick, the filling is silky, and the spices?
They slap.
What Makes This Recipe Awesome
- Two layers, one knockout bite: Buttery graham base + velvety pumpkin cheesecake = holiday-level flavor without the holiday-level hassle.
- Better than pie, easier than a full cheesecake: Bars are portable, neat, and bake evenly. Slices? Clean.
Corners? Fought over.
- No water bath needed: The lower profile means fewer cracks and zero stress. Chill, cut, flex.
- Balanced spice and sweetness: A warm blend of cinnamon, ginger, and nutmeg enhances the pumpkin, not bulldozes it.
- Make-ahead dream: They improve after a night in the fridge.
Meal prep, but make it dessert.
Ingredients
For the Graham Crust
- 1 3/4 cups graham cracker crumbs (about 14 full sheets)
- 1/3 cup granulated sugar
- 1/2 teaspoon fine sea salt
- 7 tablespoons unsalted butter, melted (plus 1 extra tablespoon if crumbs seem dry)
For the Pumpkin Cheesecake Filling
- 16 ounces cream cheese, softened to room temperature
- 3/4 cup granulated sugar
- 1/4 cup light brown sugar, packed
- 1 1/4 cups canned pumpkin purée (not pumpkin pie filling)
- 2 large eggs, at room temperature
- 1 teaspoon pure vanilla extract
- 1 tablespoon cornstarch (or 2 teaspoons all-purpose flour)
- 1/2 teaspoon fine sea salt
- 1 1/2 teaspoons ground cinnamon
- 3/4 teaspoon ground ginger
- 1/4 teaspoon ground nutmeg
- 1/8 teaspoon ground cloves (optional for extra cozy vibes)
- 1/3 cup sour cream (or Greek yogurt), room temperature
Optional Toppings
- Whipped cream or a dollop of lightly sweetened yogurt
- Caramel drizzle or maple syrup
- Toasted pecans
Let’s Get Cooking – Instructions
- Prep the pan: Heat oven to 350°F (175°C). Line a 9×13-inch baking pan with parchment, leaving overhang for easy lifting. Lightly grease the sides.
- Make the graham crust: In a bowl, mix graham crumbs, sugar, and salt.
Stir in melted butter until it feels like damp sand. If it won’t clump when squeezed, add the extra tablespoon of butter.
- Press and par-bake: Firmly press the crumb mixture into an even layer in the pan, getting into the corners. Bake for 10 minutes.
Remove and cool 5 minutes while you make the filling.
- Beat the cream cheese: In a large bowl, beat cream cheese on medium until completely smooth, about 1–2 minutes. Scrape the bowl—don’t skip this.
- Sweeten and spice: Add granulated and brown sugar, salt, cinnamon, ginger, nutmeg, and cloves. Beat until creamy and lump-free.
- Stabilize: Beat in cornstarch until combined.
This helps prevent cracks and weepy texture.
- Add pumpkin and sour cream: Mix in pumpkin purée and sour cream until smooth. The batter should be thick but pourable.
- Eggs + vanilla last: Add eggs and vanilla and beat on low just until incorporated. Overbeating here can trap air—aka crack city.
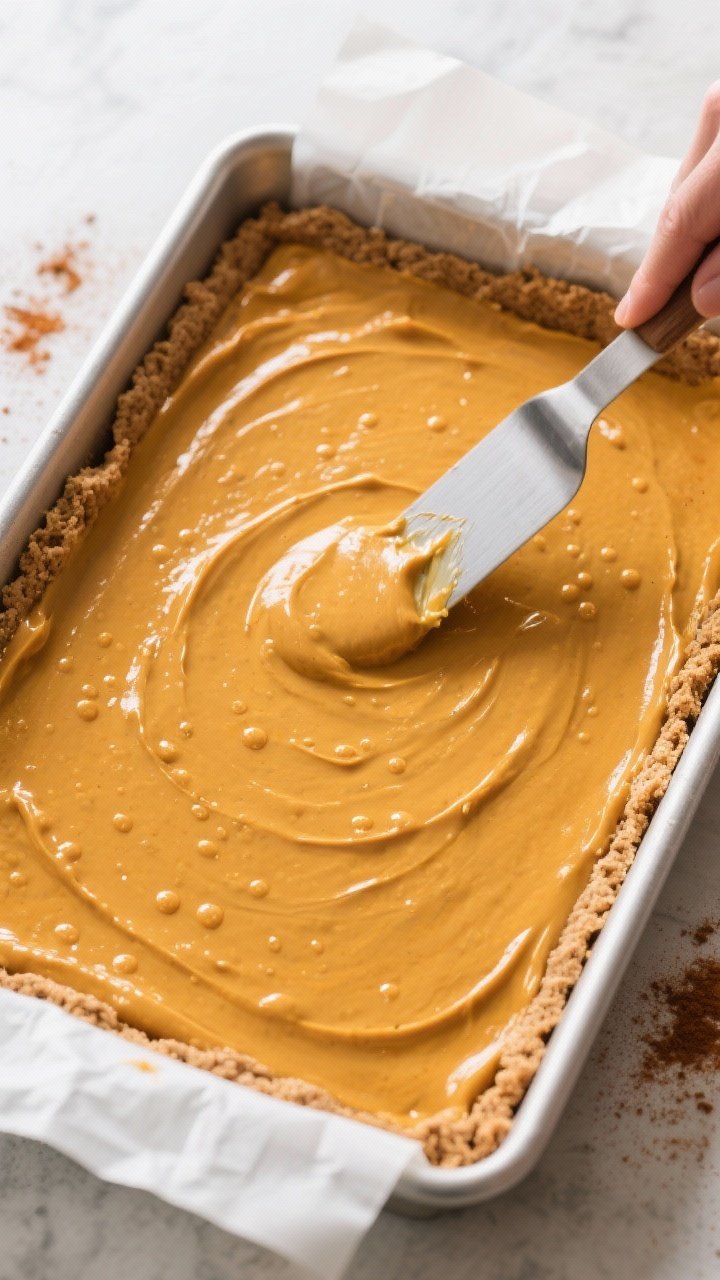
- Fill and smooth: Pour onto the warm crust.
Tap the pan on the counter a few times to pop bubbles. Smooth the top with an offset spatula.
- Bake: Bake at 325°F (165°C) for 28–35 minutes. The edges should be set, the center slightly wobbly like Jell-O.
If it’s fully firm, you went too far.
- Cool properly: Turn off the oven, crack the door, and let bars sit for 10 minutes. Then move to a rack and cool to room temp.
- Chill to set: Cover and refrigerate at least 4 hours, preferably overnight. Slice with a hot, clean knife for the cleanest bars.
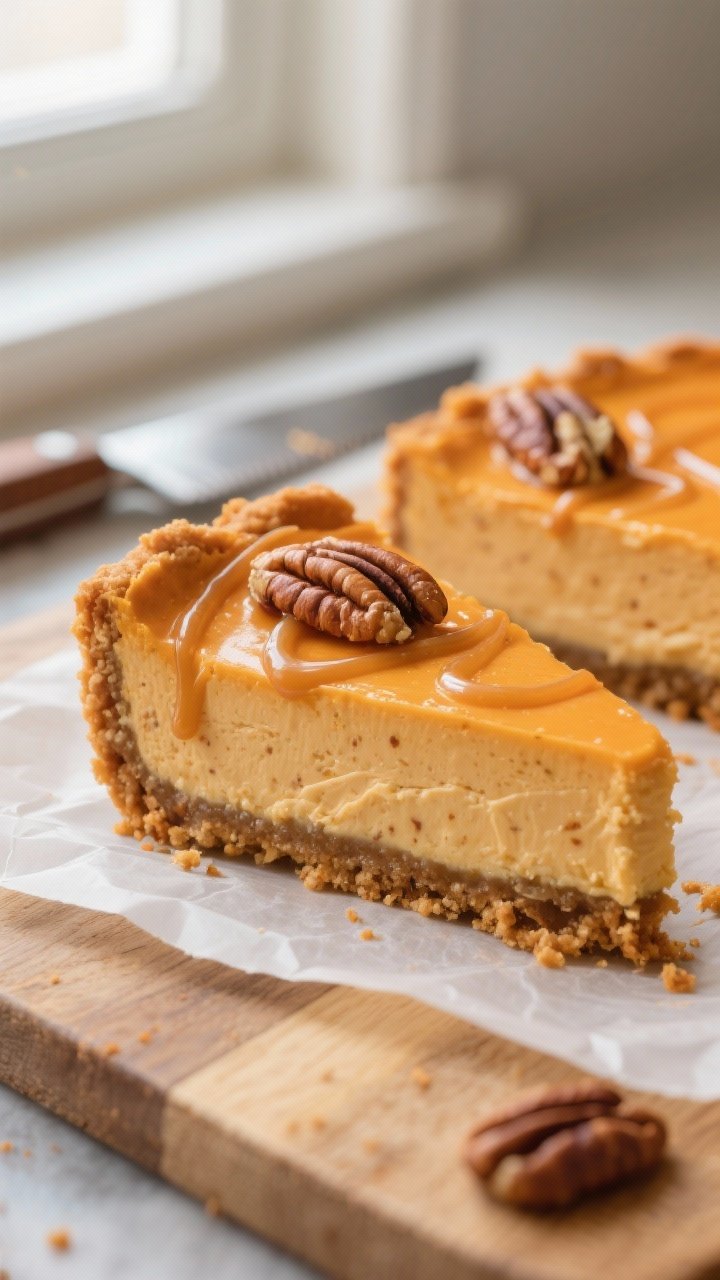
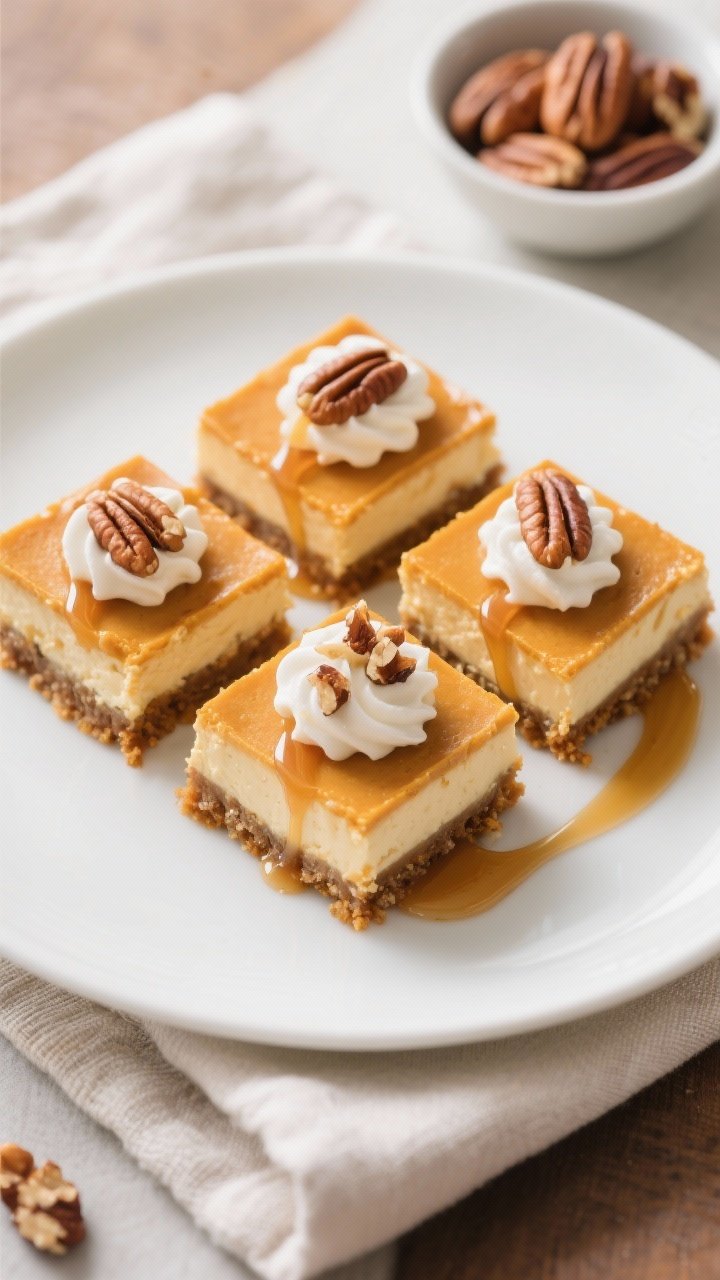
- Serve: Add whipped cream, caramel, or toasted pecans if you’re feeling extra.
Square flex: 2×2 inches for party bites, bigger if it’s “just one piece.”
Storage Instructions
- Refrigerator: Store covered for up to 5 days. Keep toppings separate until serving.
- Freezer: Freeze cut bars on a sheet until solid, then wrap individually and stash in a freezer bag for up to 2 months. Thaw overnight in the fridge.
- Serving temp: Best slightly chilled.
If too cold, flavors mute; let sit 10 minutes before serving.
Why This is Good for You
- Pumpkin brings real nutrition: It’s rich in beta-carotene (hello, Vitamin A), fiber, and antioxidants that support eye and immune health.
- Built-in portion control: Bars make mindful servings easier than slicing a wobbly pie at midnight.
- Balanced richness: Cream cheese gives satisfying protein and fat, so you feel content with one square—two if it’s that kind of day.
- Less sugar than you think: The spice profile boosts sweetness perception, so we use less sugar than typical cheesecake. Your taste buds won’t notice, but your energy will, IMO.
What Not to Do
- Don’t use pumpkin pie filling: It’s pre-sweetened and spiced; your bars will be cloying and weirdly soft.
- Don’t skip room-temperature dairy: Cold cream cheese equals lumpy batter. Lumps equal uneven baking and random craters.
- Don’t overbake: A firm center in the oven means dry, grainy bars later.
Pull when it’s just set at the edges with a gentle wobble in the middle.
- Don’t under-pack the crust: If it’s loose, it crumbles. Press hard—use a flat-bottom glass to compress.
- Don’t slice warm: You’ll smear the top and cry a little. Chill first, then clean your knife between cuts.
Mix It Up
- Gingersnap crust: Swap grahams for crushed gingersnaps and reduce added sugar in the crust to 2 tablespoons.
Big spice energy.
- Maple swirl: Reserve 1/2 cup filling, mix with 2 tablespoons maple syrup, and swirl it into the top before baking.
- Pecan streusel: Sprinkle 1/2 cup chopped pecans mixed with 2 tablespoons brown sugar and 1 tablespoon melted butter over the filling.
- Gluten-free: Use gluten-free graham crumbs and cornstarch (not flour). Same bake time.
- Lighter version: Use Neufchâtel (1/3 less fat cream cheese) and Greek yogurt in place of sour cream. Texture stays creamy; flavor stays lush.
- Individual cups: Press crust into lined muffin tins, bake 6 minutes, fill, and bake 16–20 minutes.
Perfect for parties.
FAQ
Can I make these a day ahead?
Absolutely. They’re actually better the next day because the spices bloom and the texture firms up. Make them the night before and slice right before serving.
How do I prevent cracks on top?
Use room-temperature ingredients, avoid overbeating once eggs are added, and don’t overbake.
The 10-minute rest in a cracked oven door also helps ease temperature shock.
What if I only have an 8×8 or 9×9 pan?
You can halve the recipe for a square pan. Bake the crust 8–9 minutes and the filling 25–32 minutes, watching for that slight center wobble.
Can I use fresh pumpkin purée?
Yes, but drain it well. Homemade purée tends to be wetter; strain in a fine mesh sieve or cheesecloth for 30–60 minutes so the bars set properly.
Do I need a mixer?
A hand or stand mixer makes it easier to get the cream cheese perfectly smooth.
If mixing by hand, soften the cream cheese thoroughly and be patient. Elbow grease: free gym membership.
How do I get clean slices?
Chill fully, then use a hot knife (dip in warm water, wipe dry). Wipe the blade between cuts.
Parchment overhang lets you lift the whole slab onto a cutting board for precision.
Can I cut the sugar?
You can reduce total sugar by 2–3 tablespoons without affecting texture. Any more and you’ll start to notice a tangier, less balanced flavor—still good, just different.
My Take
These bars are the holiday cheat code: all the nostalgic pumpkin spice charm without the pie crust anxiety or cheesecake theatrics. The graham base gives a buttery crunch, the pumpkin layer is silk, and the whole thing plays nice with coffee, tea, or an audacious post-dinner bourbon.
It’s the dessert you bring once and get asked to bring forever. FYI, I’m team gingersnap crust with toasted pecans on top—dangerously repeatable.
Printable Recipe Card
Want just the essential recipe details without scrolling through the article? Get our printable recipe card with just the ingredients and instructions.

Hi, I’m Hannah — the food lover behind Every Day Quick Meals! I’m all about making cooking simple, joyful, and stress-free. Between work, life, and a million to-dos, I know how hard it can be to find time for homemade food. That’s why I create quick, tasty recipes that anyone can make — no fancy skills required. My kitchen motto? Good food doesn’t need to be complicated — just made with love.